How we work

Master Model Creation
Crafting the Prototype Foundation

Vacuum casting begins with the creation of a master model, which is the blueprint for all subsequent parts. This model is typically produced using high-precision 3D printing or CNC machining.
1. Design Preparation: The process starts with a detailed CAD model, which is a digital design of the part to be manufactured. This design needs to account for the intricacies of the part, including undercuts, recesses, and fine details.
2. 3D Printing/CNC Machining: Depending on the complexity and the required finish of the master model, either 3D printing or CNC machining is used to create the initial part. This model is crafted to have a high-quality surface finish as it will dictate the quality of all cast parts.
3. Post-Processing: After the model is produced, it undergoes various post-processing steps. This includes curing, polishing, and sometimes painting, to achieve the desired surface quality and to ensure dimensional accuracy.

Silicone Mold Production
Molding Precision for Replication
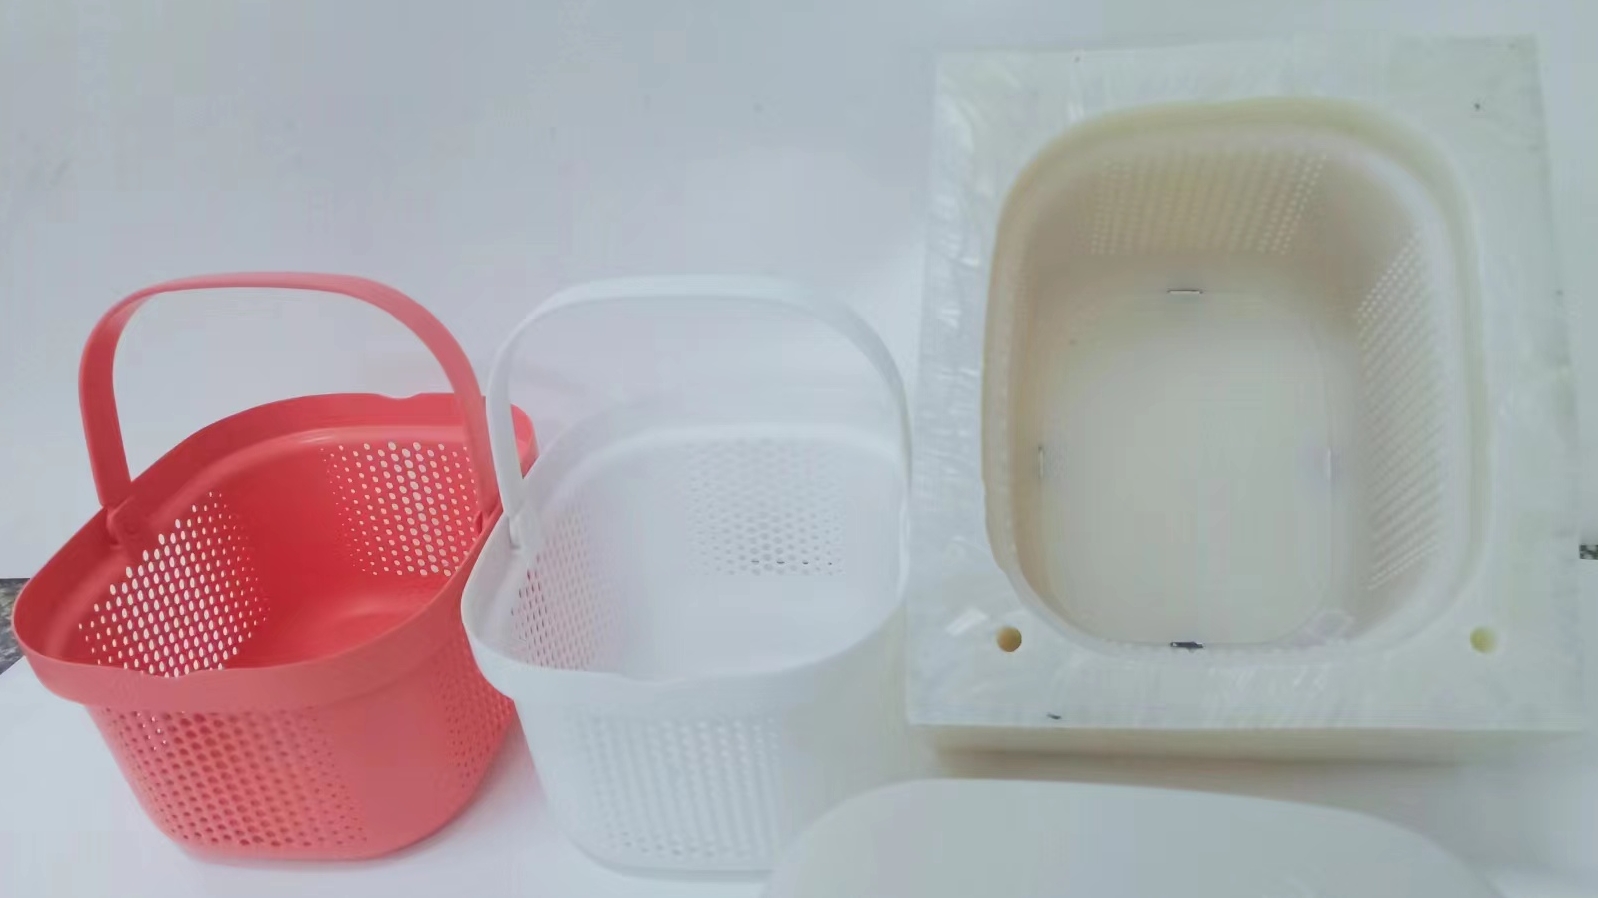
Once the master model is ready, a silicone mold is created around it. This mold is what will be used to replicate the part through vacuum casting.
1. Mold Making Material: A silicone rubber compound is selected based on the properties needed in the final cast parts, such as heat resistance, chemical resistance, and flexibility.
2. Encasing the Master Model: The master model is placed in a molding box, and silicone is poured around it. Vacuum is applied to the silicone to remove any air bubbles and ensure a perfect impression.
3. Curing and Cutting: The silicone mold is then cured in a temperature-controlled environment. Once cured, the mold is carefully cut along a designed split line. This allows for the removal of the master model without damaging the mold.
4. Mold Finishing: The internal surfaces are cleaned, and any imperfections are corrected. Gates and vents are added to aid in the casting process.

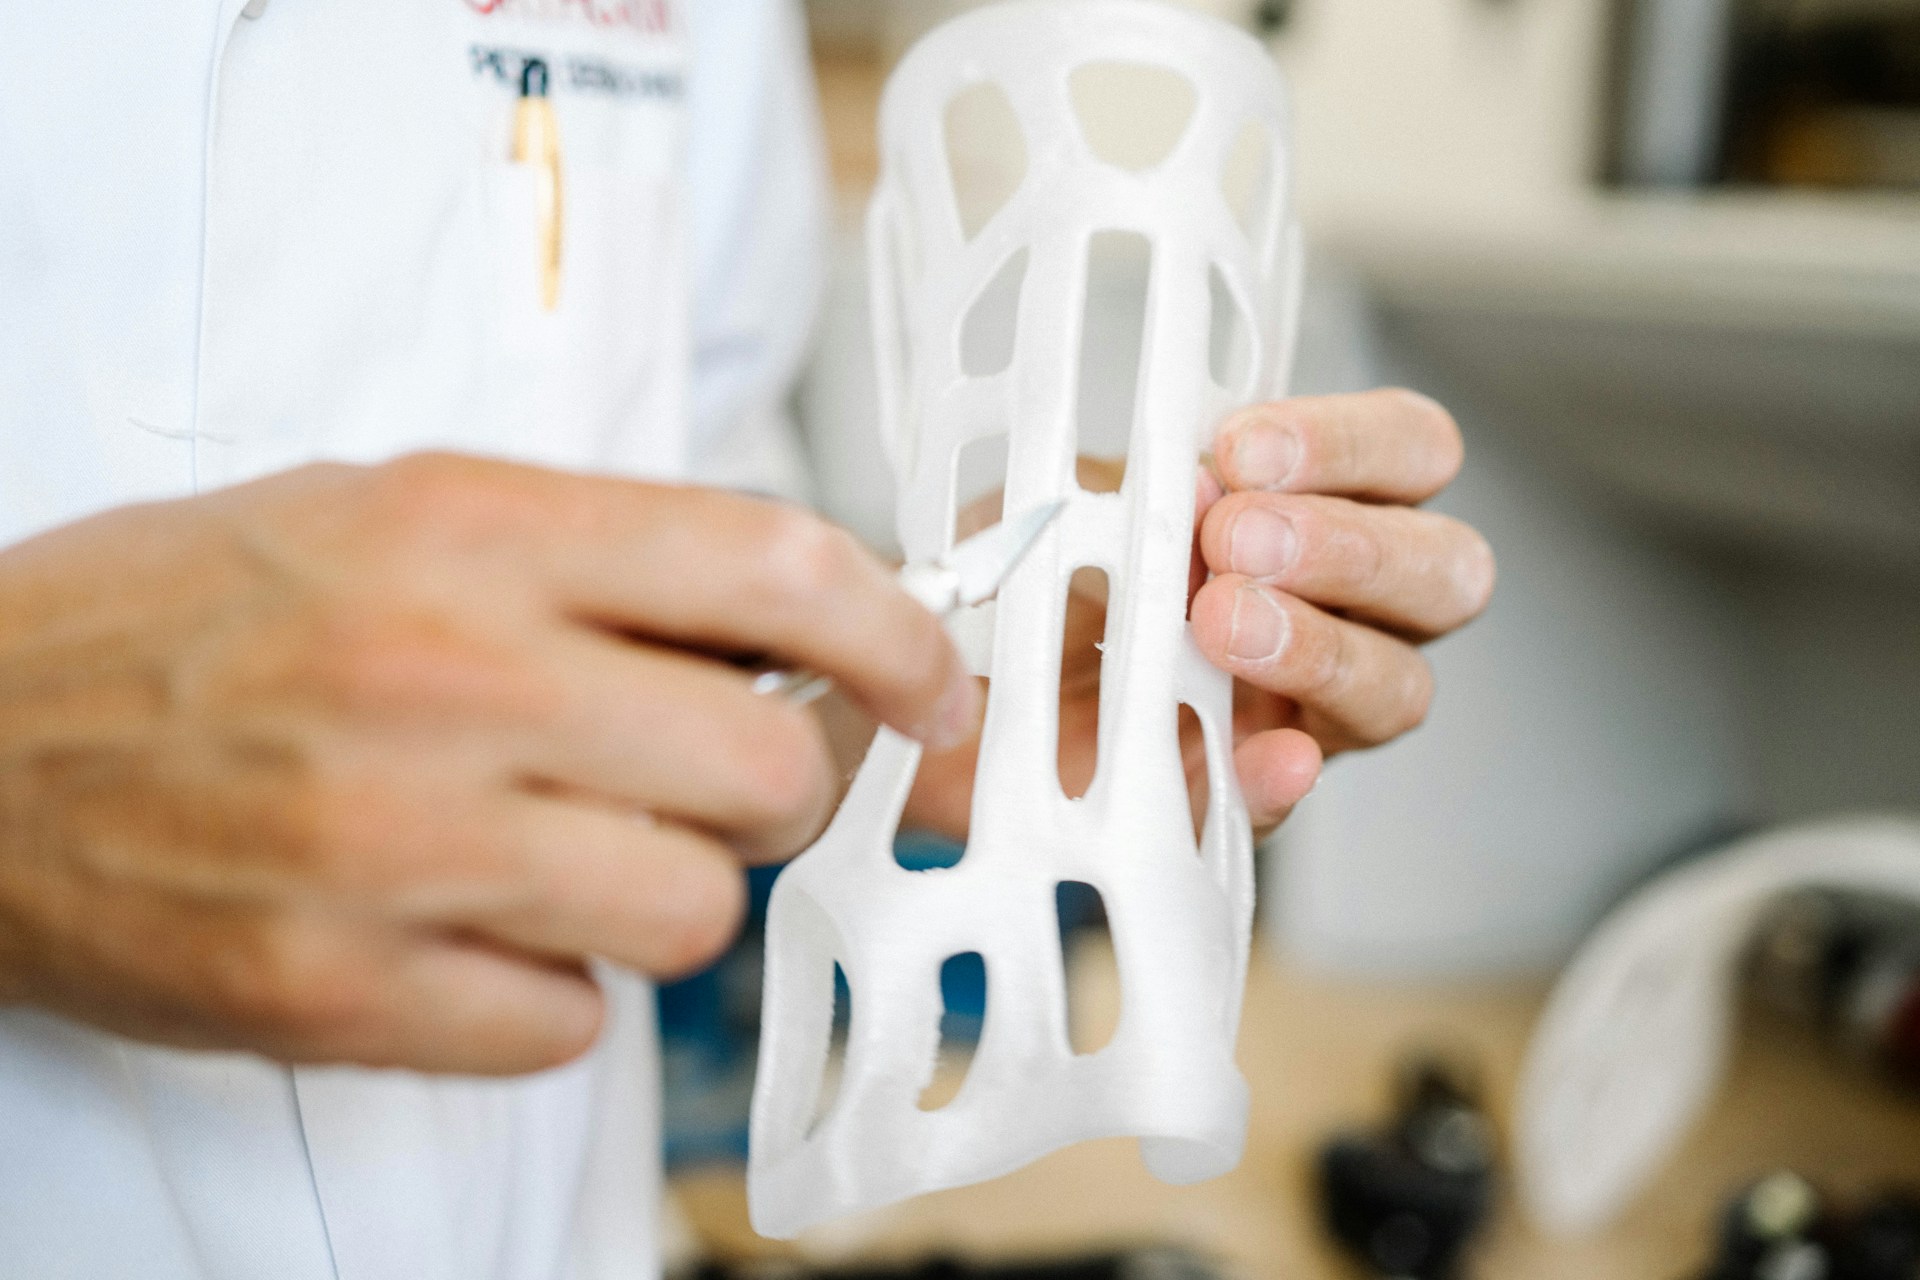
Casting and Finishing
From Resin to Reality - The Final Transformation
With the silicone mold prepared, the actual casting of the parts can begin. This involves the careful mixing and pouring of the casting resin under vacuum to ensure the highest quality replicas.
1. Preparation of Resin: A two-part resin is mixed, which can be tailored in color, transparency, and mechanical properties to match the project requirements.
2. Vacuum Casting: The mixed resin is poured into the silicone mold, which is then placed in a vacuum chamber. The vacuum helps to draw the resin into all parts of the mold, ensuring there are no air bubbles or voids.
3. Curing: The filled mold is placed in a heated chamber to cure the resin. The time and temperature of curing depend on the type of resin used.
4. Demolding and Post-Processing: Once cured, the cast part is removed from the mold. The parts often require further post-processing, such as sanding, painting, or assembly, to meet the final specifications.